![]()
Select the Remote Desktop Services option in the left panel.
On the Server Manager screen, from the left pane, select the Collections option.
63
Click the Tasks menu in the upper right corner of the screen and select Create Session Collection.
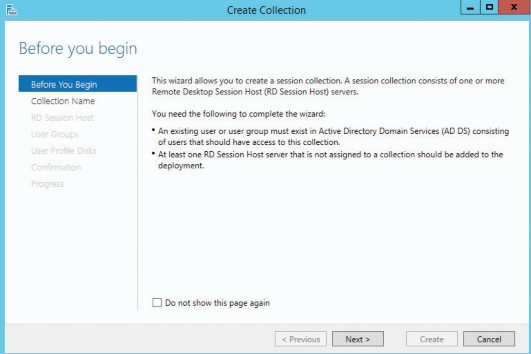
Click Next.
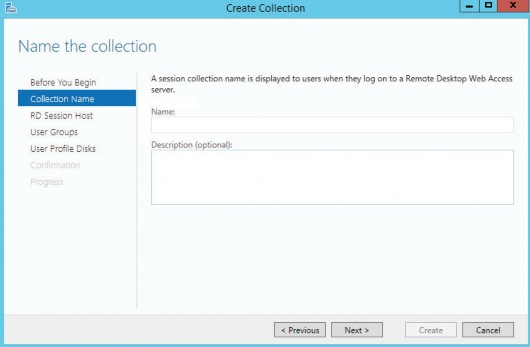
In the Name field, enter the desired collection name.
Click Next.
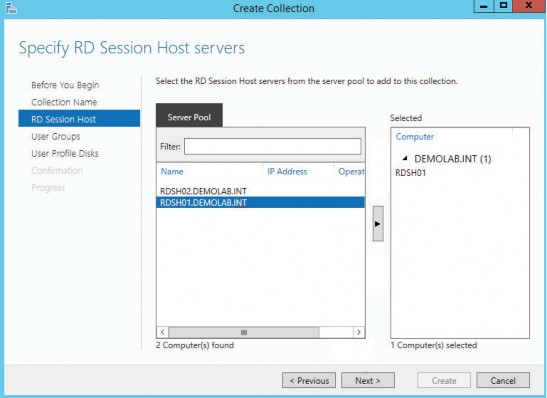
Select the Application Servers that will be part of this collection and click the arrow button.
Click Next.
65
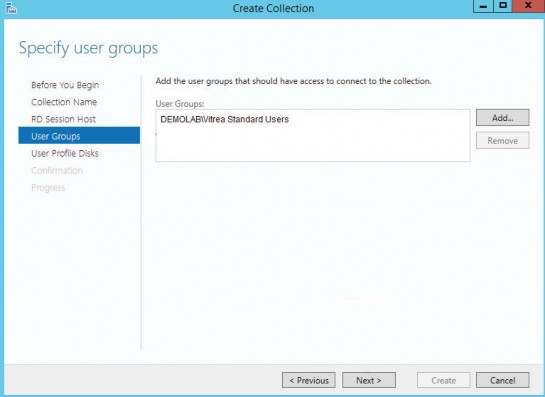
In the User Groups field, add the group(s) that will have access to the collection or will need to launch the Vitrea application, e.g., Vitrea Standard Users.
Click Next.
I
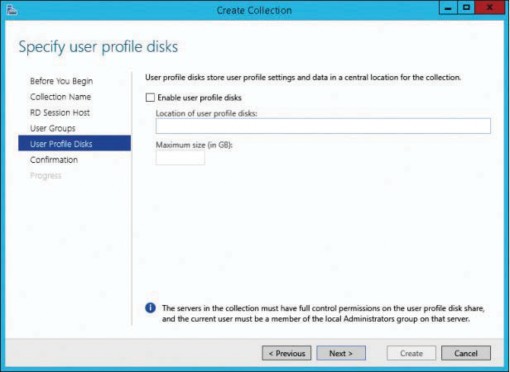
Clear the Enable user profile disks check box.
Click Next.
I
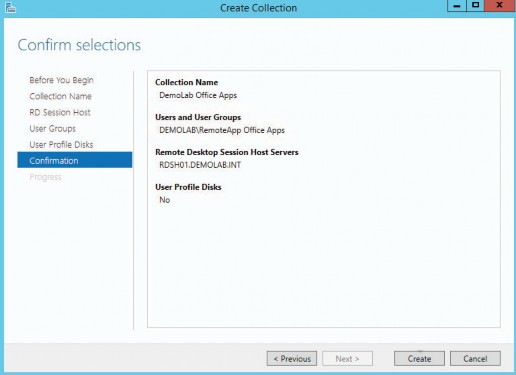
Click Create.
67
I
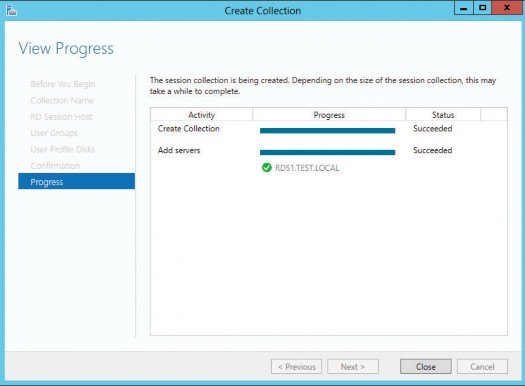
Once the collection is created, click Close.
Complete the steps below to verify the collections are accessible via RD Web.
NOTE: By default, the user does not have permission to view the collections. The user connecting to RD Web must have permissions to view the collection
From the Management Server, open Internet Explorer.
Type http(s)://[RDwebhostname]/rdweb in the URL field.
NOTE: The RDwebhostname variable is the hostname or the FQDN of the server on which RD Web is installed. This is typically the Management Server but it may vary. Consult with your Vitrea Enterprise administrator.
The following screen displays.
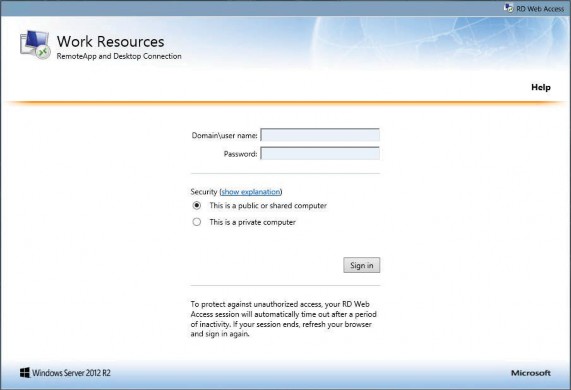
In the Domain\user name field and the Password field, log in as the Vitrea-Admin.
Click the Sign in button.
The following screen displays.
NOTE: The screen below is only representative; the names of the collections will likely be different in your deployment.
73
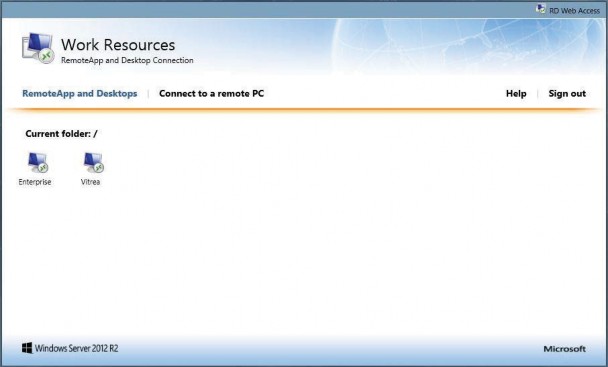
Verify the collection(s) you created display.
Click Sign out in the upper right corner.
![]()
You will complete the following steps for each collection you have created.
Return to the Server Manager screen.
In the left pane, select the newly created collection name (Collections | Advanced) or (Collections | MMViewer).
The Properties panel displays.
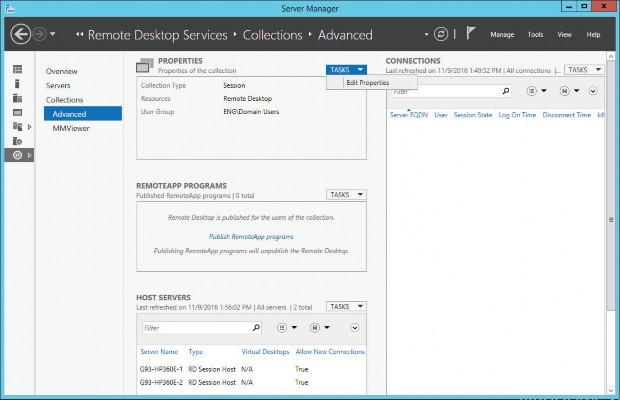
From the Properties section, select the Tasks menu and select the Edit Properties option.
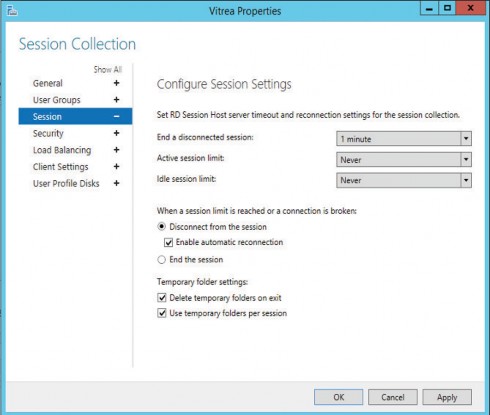
Select Session in the left panel.
The following screen displays only an example.
By default, Remote Desktop Services allows you to disconnect from a remote session without logging off and ending the session. When a session is in a disconnected state, running programs are kept active even though you are no longer actively connected.
You can limit the amount of time that active, disconnected, and idle (without user input) sessions remain on the server. This is useful because sessions that remain running indefinitely on the RD Session Host server continue to consume system resources.
Configuring timeout and reconnection settings on a per connection basis affects all sessions that use the connection.
You can configure timeout and reconnection settings on a per user basis by using the Remote Desktop Services Extension to the Local Users and Groups snap-in or to the Active Directory Users and Computers snap-in.
Timeout and reconnection settings configured by using Remote Desktop Session Host Configuration will take precedence over timeout and reconnection settings that have been configured for a specific user account.
You can configure the following timeout and reconnection settings in Remote Desktop Session Host Configuration.
![]()
To specify the timeout and reconnection settings for a remote session.
These are just recommendations--please set them as appropriate to your environment
Click the End a disconnected session dropdown menu and change the value to 1 minute.
Click the Active session limit dropdown menu and change the value to Never.
Click the Idle session limit dropdown menu and change the value to Never.
Select the Disconnect from the session radio button.
Select the Enable automatic reconnection check box.
Select the Delete temporary folders on exit check box.
Select the Use temporary folders per session check box.
Click Apply.
77
** Changes to timeout and reconnection settings are not applied to sessions that are connected when the change is made. The changes will take effect the next time you establish a new connection to the RD Session Host server.
Select Security in the left panel.
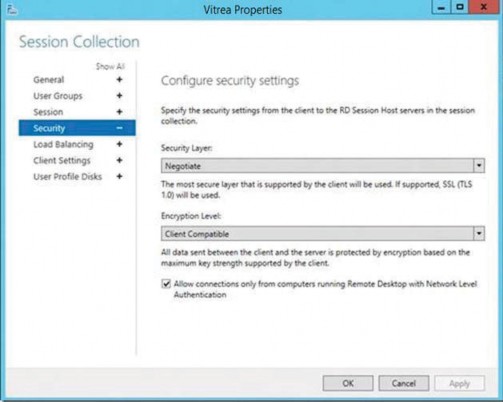
NOTE: While TLS 1.0 may display, TLS 1.2 will be used for security. For more information, refer to https://support.microsoft.com/en-us/help/3097192/incorrect-tls-is-displayed-when-you-use- rdp-with-ssl-encryption.
Ensure the Allow connections check box is selected.
Click OK or Apply to save the changes.
Repeat steps 1-11 for each collection you have created.