
![]()
This section explains how to set up the Remote Desktop Connections Broker (RDCB) to balance the load of Remote Desktop (RD) client connections to the Servers
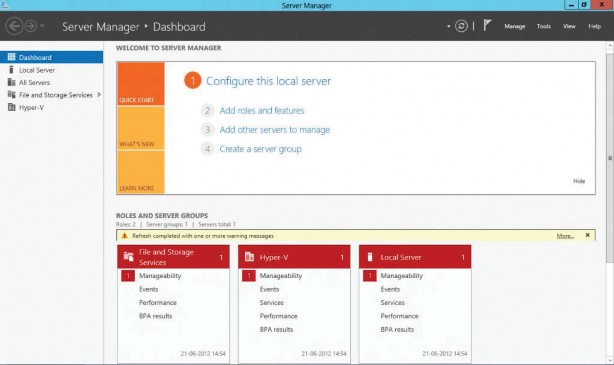
Log in to the server with a domain admin account
7
Select the Manage menu option in the upper right corner of the screen and select Add Roles and Features.
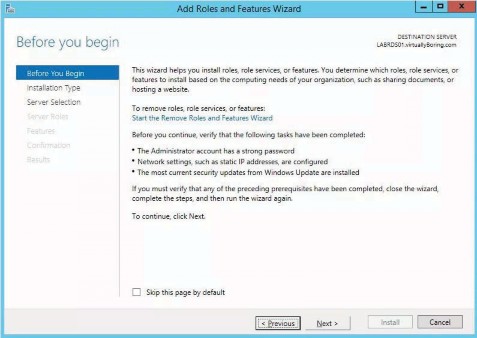
Click Next.
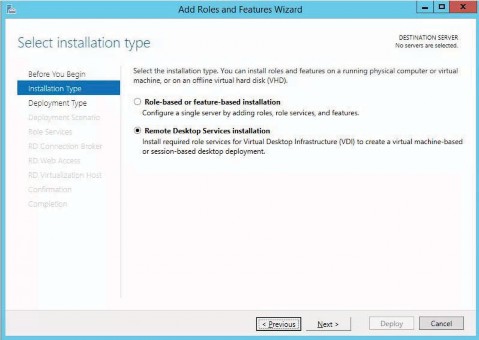
Select the Remote Desktop Services Installation radio button and click Next.

Select the Standard deployment radio button and click Next.
59
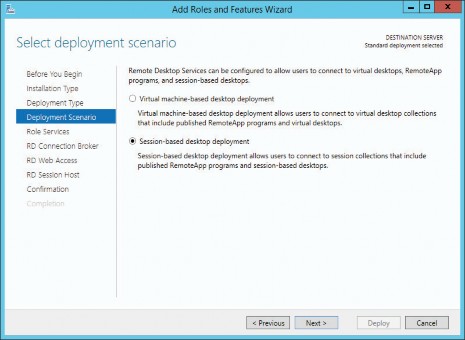
Select the Session-based desktop deployment radio button and click Next.

Click Next.

In the Server Pool section, select the Management Server where the connection broker will be installed and click the arrow button to move it into the Selected column.
Click Next.
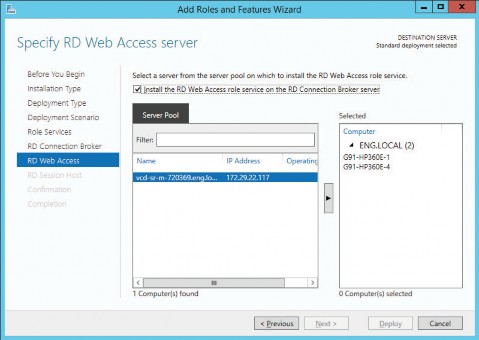
Select the Install the RD Web Access role service on the RD Connection Broker server
check box.
Click Next.
61
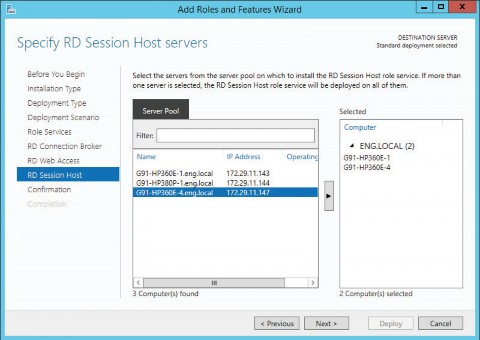
In the Server Pool section, select the Server
Click Next.
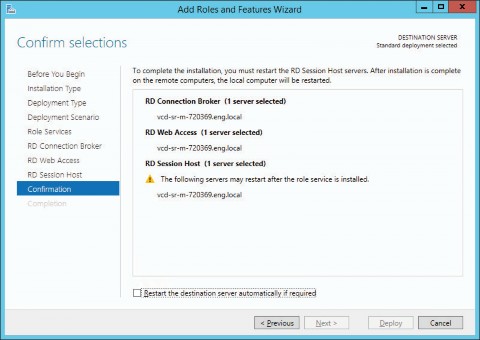
Select the Restart the destination server automatically if required check box to confirm you want to allow the deployment to reboot the server. This is needed for the RD Session Host role.
Click Deploy 1.

Once the role services deploy successfully, click Close.
Install-WindowsFeature RDS-RD-Server -IncludeManagementTools
Install-WindowsFeature RDS-Connection-Broker RDS-Gateway RDS-Web-Access RDS-Licensing-UI